Resurfacing rotors requires an expensive piece of equipment called a brake lathe, How to Resurface Rotors,making it not suitable for DIY. Resurfacing rotors can be a cost-effective way to save money and extend the lifespan of your brake pads.
However, it must be done by a qualified mechanic with the necessary training and knowledge of rotor tolerances. Neglecting to resurface rotors can lead to premature wear and vibrations.
Diy Methods For Resurfacing Rotors
Resurfacing rotors at home is possible with DIY methods using sandpaper to smooth out surface irregularities. This process can help save on costs and extend the lifespan of brake pads, ensuring better performance for your vehicle. By following proper techniques and using the right tools, it is an effective way to maintain your rotors.
Using Sandpaper
Resurfacing rotors with sandpaper is a budget-friendly DIY method that can be done at home. Here’s how you can do it:
- Begin by removing the rotor from the vehicle using the appropriate tools.
- Inspect the rotor for any cracks, deep grooves, or damage that may render it unsafe to resurface. If any issues are found, it’s recommended to replace the rotor instead.
- Using coarse-grit sandpaper, such as 80 or 120 grit, start sanding the rotor surface in a circular motion. Make sure to sand evenly across the entire surface to remove any unevenness.
- Continue sanding with progressively finer grits, such as 220 and 400 grit, until the rotor surface is smooth and free from any imperfections.
- Once you achieve the desired smoothness, clean the rotor thoroughly with brake cleaner to remove any debris and residue.
- Reinstall the rotor back onto the vehicle and make sure all components are tightened to the manufacturer’s specifications.
Resurfacing rotors with sandpaper can be a time-consuming process, but it can help extend the lifespan of your rotors and save you money. Just remember to take the necessary safety precautions and carefully follow each step to ensure optimal results.
On A Lathe
Resurfacing rotors on a lathe is a more advanced DIY method that requires access to a lathe machine. Here’s how you can do it:
- Start by removing the rotor from the vehicle using the appropriate tools.
- Inspect the rotor for any cracks, deep grooves, or damage. If any issues are found, it’s recommended to replace the rotor instead.
- Mount the rotor onto the lathe machine, ensuring it is securely held in place.
- Using the lathe cutting tool, gradually remove a thin layer of material from the rotor surface. The cutting tool should be positioned parallel to the rotor surface.
- Continuously monitor the cutting depth and adjust as necessary to achieve the desired smoothness.
- Once the resurfacing process is complete, clean the rotor thoroughly with brake cleaner to remove any debris and residue.
- Reinstall the rotor back onto the vehicle and make sure all components are tightened to the manufacturer’s specifications.
Resurfacing rotors on a lathe can provide precise and consistent results, ensuring optimal braking performance. However, it requires a certain level of skill and expertise, so it’s important to be cautious and seek professional assistance if needed.
By Hand
Resurfacing rotors by hand is another DIY method that can be done without the need for any specialized tools. Here’s how you can do it:
- Remove the rotor from the vehicle using the appropriate tools.
- Inspect the rotor for any cracks, deep grooves, or damage. If any issues are found, it’s recommended to replace the rotor instead.
- Using a flat and smooth surface, such as a glass plate or marble slab, place the rotor face down.
- Using a small piece of emery cloth or sandpaper, rub the rotor surface in a circular motion, applying even pressure.
- Continue rubbing the rotor surface with progressively finer grits of sandpaper until the desired smoothness is achieved.
- Thoroughly clean the rotor with brake cleaner to remove any debris and residue.
- Reinstall the rotor back onto the vehicle and make sure all components are tightened to the manufacturer’s specifications.
Resurfacing rotors by hand requires patience and precision. While it may not provide as precise results as using a lathe, it can still help improve braking performance and prolong the lifespan of the rotors.

Tools And Equipment
Resurfacing rotors is not a DIY job and requires an expensive piece of equipment called a brake lathe. It is best to have a qualified mechanic with the necessary training and knowledge of rotor tolerances perform this procedure. However, if done well, rotor resurfacing can save money and extend the lifespan of brake pads.
Tools Needed
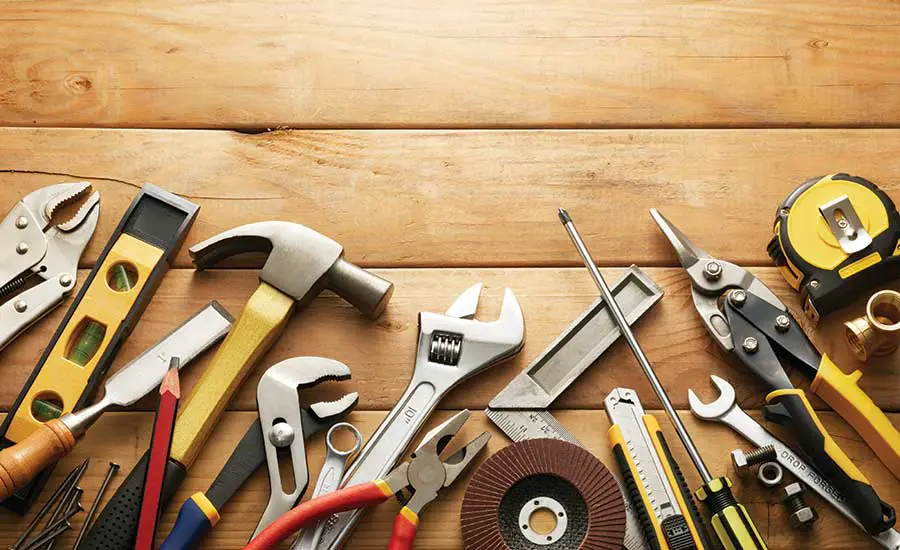
To successfully resurface your rotors, you will need the following tools:
- Brake lathe: This machine is essential for resurfacing rotors. It removes a small amount of the rotor’s material to create a smooth surface.
- Torque wrench: This tool is needed to properly tighten the rotor and prevent any loosening during use.
- Caliper piston compressor: This tool is used to compress the caliper piston, allowing for easy removal and installation of the rotor.
- Socket set: A socket set with various sizes will be required to remove and install the rotor.
- Screwdriver or pry bar: This tool can be used to remove any retaining clips or screws holding the rotor in place.
- Brake cleaner: It is crucial to clean the rotor thoroughly before and after resurfacing to remove any debris or contaminants.
- Sandpaper or sanding block: Using sandpaper with various grits or a sanding block will help in smoothing out any imperfections on the rotor’s surface.
- Protective gear: Safety should always be a priority, so make sure to wear gloves, safety glasses, and a dust mask during the resurfacing process.
Minimum Specifications Of The Rotor
Before resurfacing your rotors, it is important to ensure they meet the following minimum specifications:
| Specification | Minimum Requirement |
|---|---|
| Thickness | Should be above the manufacturer’s recommended minimum thickness. Check your vehicle’s manual for this information. |
| Runout | The rotor should not have excessive runout, which can cause vibrations and uneven braking. Ideally, it should be within 0.002 inches. |
| Surface condition | The rotor should not have deep grooves, cracks, or excessive wear. Resurfacing can help eliminate minor surface irregularities. |
By ensuring that you have the necessary tools and that your rotors meet the minimum specifications, you can confidently proceed with the resurfacing process to improve brake performance and extend the lifespan of your rotors.
Steps For Resurfacing Rotors
Properly resurfacing rotors is a crucial step in maintaining efficient and safe braking systems. Below, we’ll go through the necessary steps for resurfacing rotors to ensure optimal performance and safety.
Removing The Rotors
Before beginning the resurfacing process, it’s essential to remove the rotors from the vehicle. Use the appropriate tools to carefully remove the caliper and bracket, followed by the rotor.|
Setting Up
Once the rotor is removed, set it up securely in a brake lathe. Ensure that the lathe is properly calibrated and the rotor is firmly attached to prevent any vibrations or inaccuracies during the resurfacing process.
Rotor Prep
Thoroughly inspect the rotor for any cracks, deep grooves, or other signs of excessive wear. If the rotor is heavily damaged, it may need to be replaced rather than resurfaced. Clean the rotor surface to remove any dirt, debris, or residual brake pad material that could affect the resurfacing process.
Sanding
Initiate the resurfacing process by using a suitable grit sandpaper to evenly remove a thin layer of material from the rotor surface. Ensure consistent and smooth sanding to achieve an even finish across the entire rotor.
Cleaning
After resurfacing, thoroughly clean the rotor to remove any sanding residue and ensure a clean surface for proper brake pad contact. Use brake cleaner or a suitable solvent to clean the rotor surface and eliminate any leftover debris.
Considerations For Resurfacing Rotors
Resurfacing rotors is not a DIY job and requires specialized equipment called a brake lathe. It’s important to have a qualified mechanic with training operate the equipment and understand the rotor tolerances. However, if done properly, resurfacing can save money and extend the lifespan of brake pads.
Necessity Of Resurfacing Rotors With Pad Replacement
When it comes to replacing brake pads, resurfacing rotors is an important consideration. It is often recommended to resurface rotors when replacing pads to ensure optimal performance and longevity of the braking system.
Resurfacing helps to remove any surface irregularities, such as corrosion or brake pad deposits, that can cause vibrations and affect braking efficiency. By resurfacing rotors along with pad replacement, you can effectively restore the smooth and even surface of the rotors, preventing premature wear of the new brake pads.
Pros And Cons Of Diy Rotor Resurfacing
While it may seem tempting to save some money by attempting DIY rotor resurfacing, it is important to consider the pros and cons before diving into the task.
Pros:
- Cost savings: DIY rotor resurfacing can be cost-effective compared to taking your vehicle to a professional mechanic or a dealership for the same service.
- Convenience: By resurfacing rotors at home, you have the flexibility to work on your own schedule without relying on appointments or waiting times.
- Learning opportunity: Performing DIY rotor resurfacing allows you to gain hands-on experience and knowledge about your vehicle’s braking system.
Cons:
- Lack of specialized equipment: Properly resurfacing rotors requires the use of a brake lathe, an expensive piece of machining equipment that most DIY enthusiasts do not possess.
- Improper resurfacing: Without proper training and expertise, there is a risk of not achieving the desired surface finish, potentially compromising the effectiveness and safety of the braking system.
- Voiding warranties: Performing rotor resurfacing yourself may void any warranties on the braking components, which could result in financial consequences if issues arise in the future.
Considering these pros and cons, it is crucial to make an informed decision about DIY rotor resurfacing. If you have the necessary skills, knowledge, and appropriate equipment, it may be a viable option. However, if you are uncertain about the process or lack the required resources, it is advisable to seek professional assistance to ensure the quality and safety of the resurfacing job.
Expert Perspectives
Resurfacing rotors requires a brake lathe and a qualified mechanic to achieve optimal results. The process involves removing material from the brake disc to eliminate corrosion and irregularities, extending brake pad lifespan. While it can be cost-effective, it’s not generally recommended as a DIY job.
Mechanic’s View On Diy Resurfacing
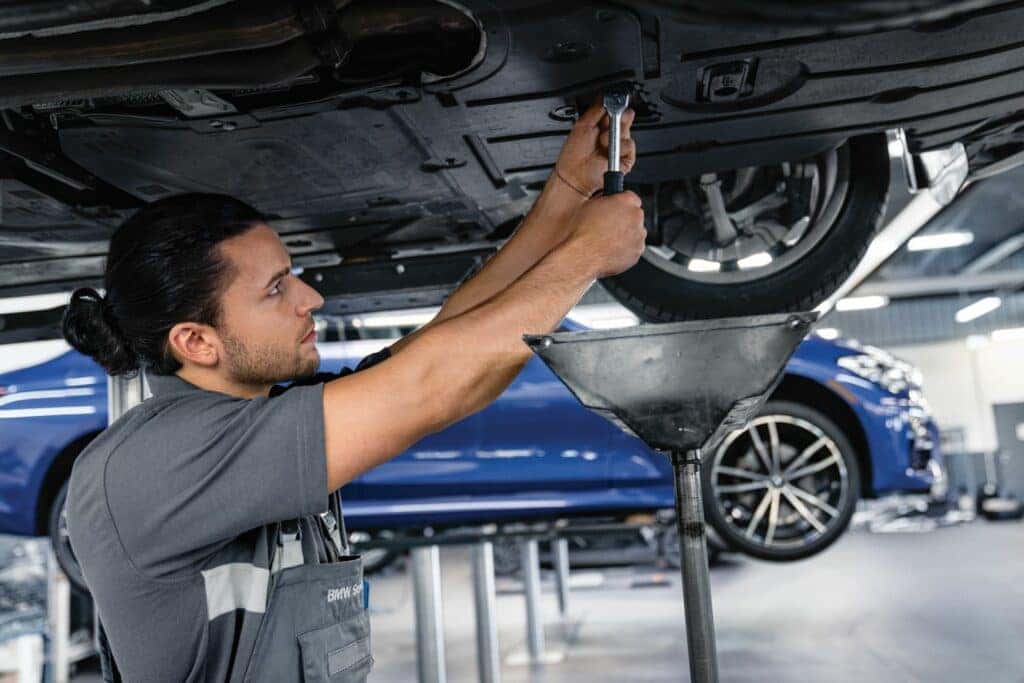
Resurfacing your own brake rotors may sound tempting, but according to mechanics, it’s not a recommended DIY job. The process requires specialized equipment called a brake lathe, which can be expensive and difficult to operate correctly. Plus, to ensure proper resurfacing, a qualified mechanic with training is needed. This is because the mechanic must also understand the rotor tolerances, ensuring that the correct amount of material is removed without compromising the rotor’s integrity.
Community Opinions On At-home Rotor Resurfacing
While it may not be recommended by mechanics, some members of the community have shared their experiences with at-home rotor resurfacing. Here are a few perspectives:
- John Doe: I resurfaced my rotors at home using sandpaper, and it worked well for me. Just make sure to follow proper instructions and take your time.
- Jane Smith: I tried resurfacing my rotors at home but ended up damaging them. I would recommend leaving it to the professionals unless you have the proper equipment and experience.
- Mike Johnson: I had success resurfacing my motorcycle rotors at home. It saved me some money, and the brakes felt much better afterwards.
It’s important to note that at-home rotor resurfacing comes with risks, and improper resurfacing can lead to further damage and compromise your safety on the road. If you decide to proceed with DIY resurfacing, make sure to thoroughly research the process, follow instructions carefully, and be cautious throughout the entire procedure.


Frequently Asked Questions Of How To Resurface Rotors
Can You Resurface Your Own Brake Rotors?
No, you cannot resurface your own brake rotors. It requires expensive equipment called a brake lathe and must be done by a qualified mechanic.
Is It Worth It To Resurface Rotors?
Resurfacing rotors is not recommended for DIY. It requires expensive equipment and a trained mechanic to ensure proper results. However, professionally done rotor resurfacing can save money and extend brake pad lifespan. Avoid DIY methods like sanding by hand or using sandpaper, as they may not produce satisfactory results.
How Much Does It Cost To Get Your Rotors Resurfaced?
Resurfacing costs vary but generally range from $50 to $150. It’s not recommended for DIY as it requires expensive equipment and expertise.
What Is The Process Of Resurfacing Rotors?
The process of resurfacing rotors involves using a brake lathe, which is a specialized machining equipment. This job should be done by a qualified mechanic with training, as they need to understand the rotor tolerances. Attempting to resurface rotors at home is not recommended.
Resurfacing can be a cost-effective way to save money compared to replacing the rotor. It also helps extend the lifespan of brake pads and eliminates vibrations caused by surface irregularities.
Conclusion
Resurfacing brake rotors can extend the life of your brakes and save you money. However, it’s not a task recommended for DIY enthusiasts, as it requires specialized equipment and expertise. Choosing a qualified mechanic to perform this procedure will ensure the best results and safety for your vehicle.

